


OVERVIEW
Factory M10 locking hardware for the assigned exhaust connection
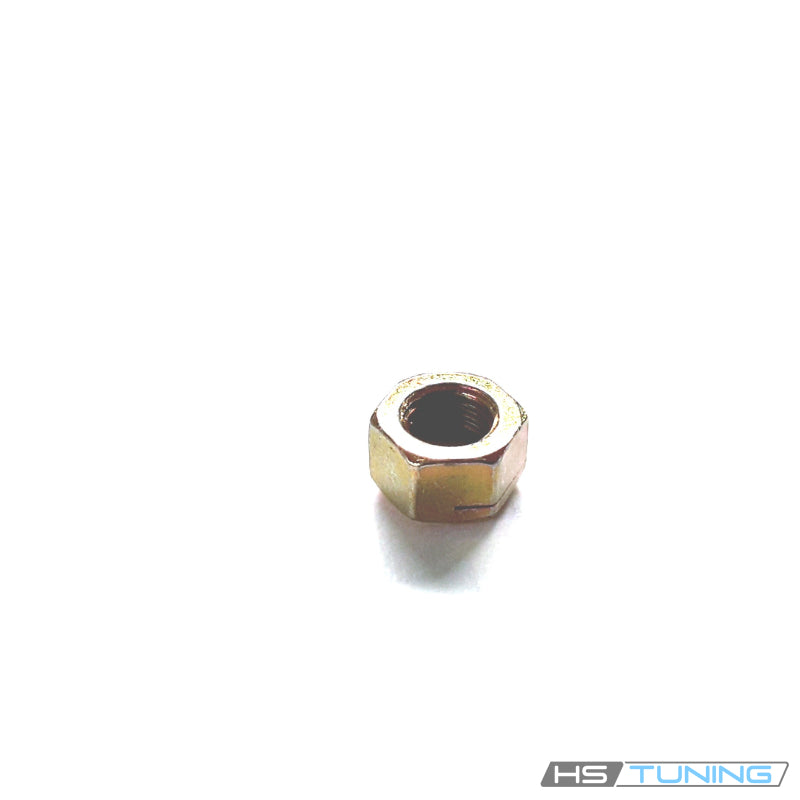
N-900-730-01 is the Genuine VW/Audi M10 self-locking hexagon nut specified at the assigned exhaust mounting connections below.
Exhaust assemblies use different nuts at the manifold, pipe joints and supports. Match the original number and mounting position rather than selecting hardware by nominal thread diameter alone.
Technical details
- Complete factory number: N-900-730-01.
- Factory specification: M10; self-locking hexagon nut.
- Design: hexagon nut with factory self-locking feature.
- Quantity supplied: one individual nut.
M10 identifies the nominal thread diameter. The catalog self-locking designation is part of the original specification. Mating bolts, washers, studs and exhaust seals are separate components.
Common reasons to replace
- The original locking nut has been removed and requires replacement.
- Threads are damaged or crossed.
- The hexagon is rounded or damaged.
- Corrosion prevents controlled tightening.
- The original nut is missing or incorrect hardware was installed.
Inspect the mating threads, exhaust support and mounting faces. Diagnose the cause of movement or leakage before assembly. A new nut cannot repair a cracked exhaust component, damaged stud or failed seal.
Vehicle fitment
Confirm the engine and assigned exhaust position in the table. Similar models and nearby connections can require different nuts.
| Vehicle | Model years | Engine | Configuration | Application restrictions |
|---|---|---|---|---|
| Audi 100 | 1993 | 2.8L gasoline V6 | C4 sedan or Avant; quattro; Assigned exhaust mounting connection | Original N90073001 M10 nut position only; not every exhaust nut. |
| Audi 200 | 1991 | 2.2L turbocharged gasoline I5 20-valve; 3B | C3 sedan or Avant; quattro; Assigned exhaust pipe mounting connection | Engine code 3B only for this confirmed connection; original N90073001 position. |
| Audi A6 | 1996 | 2.8L gasoline V6 | C4 sedan or Avant; quattro; Assigned exhaust mounting connection | Original N90073001 M10 nut position only. |
Installation guidance
Allow the exhaust to cool and support it safely. Follow the exact factory repair procedure, use new locking hardware where required and apply the prescribed tightening sequence and torque. Use thread treatments only when specified for the connection.
Check exhaust support, clearance and joint seating. Complete the required leak and operating checks after the repair and renew any specified seals separately.
Ordering information
One individual genuine nut. Bolts, washers, studs, seals and exhaust components are separate. Confirm VIN, engine, mounting position and quantity.